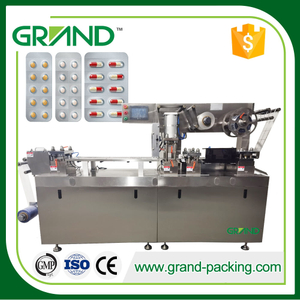
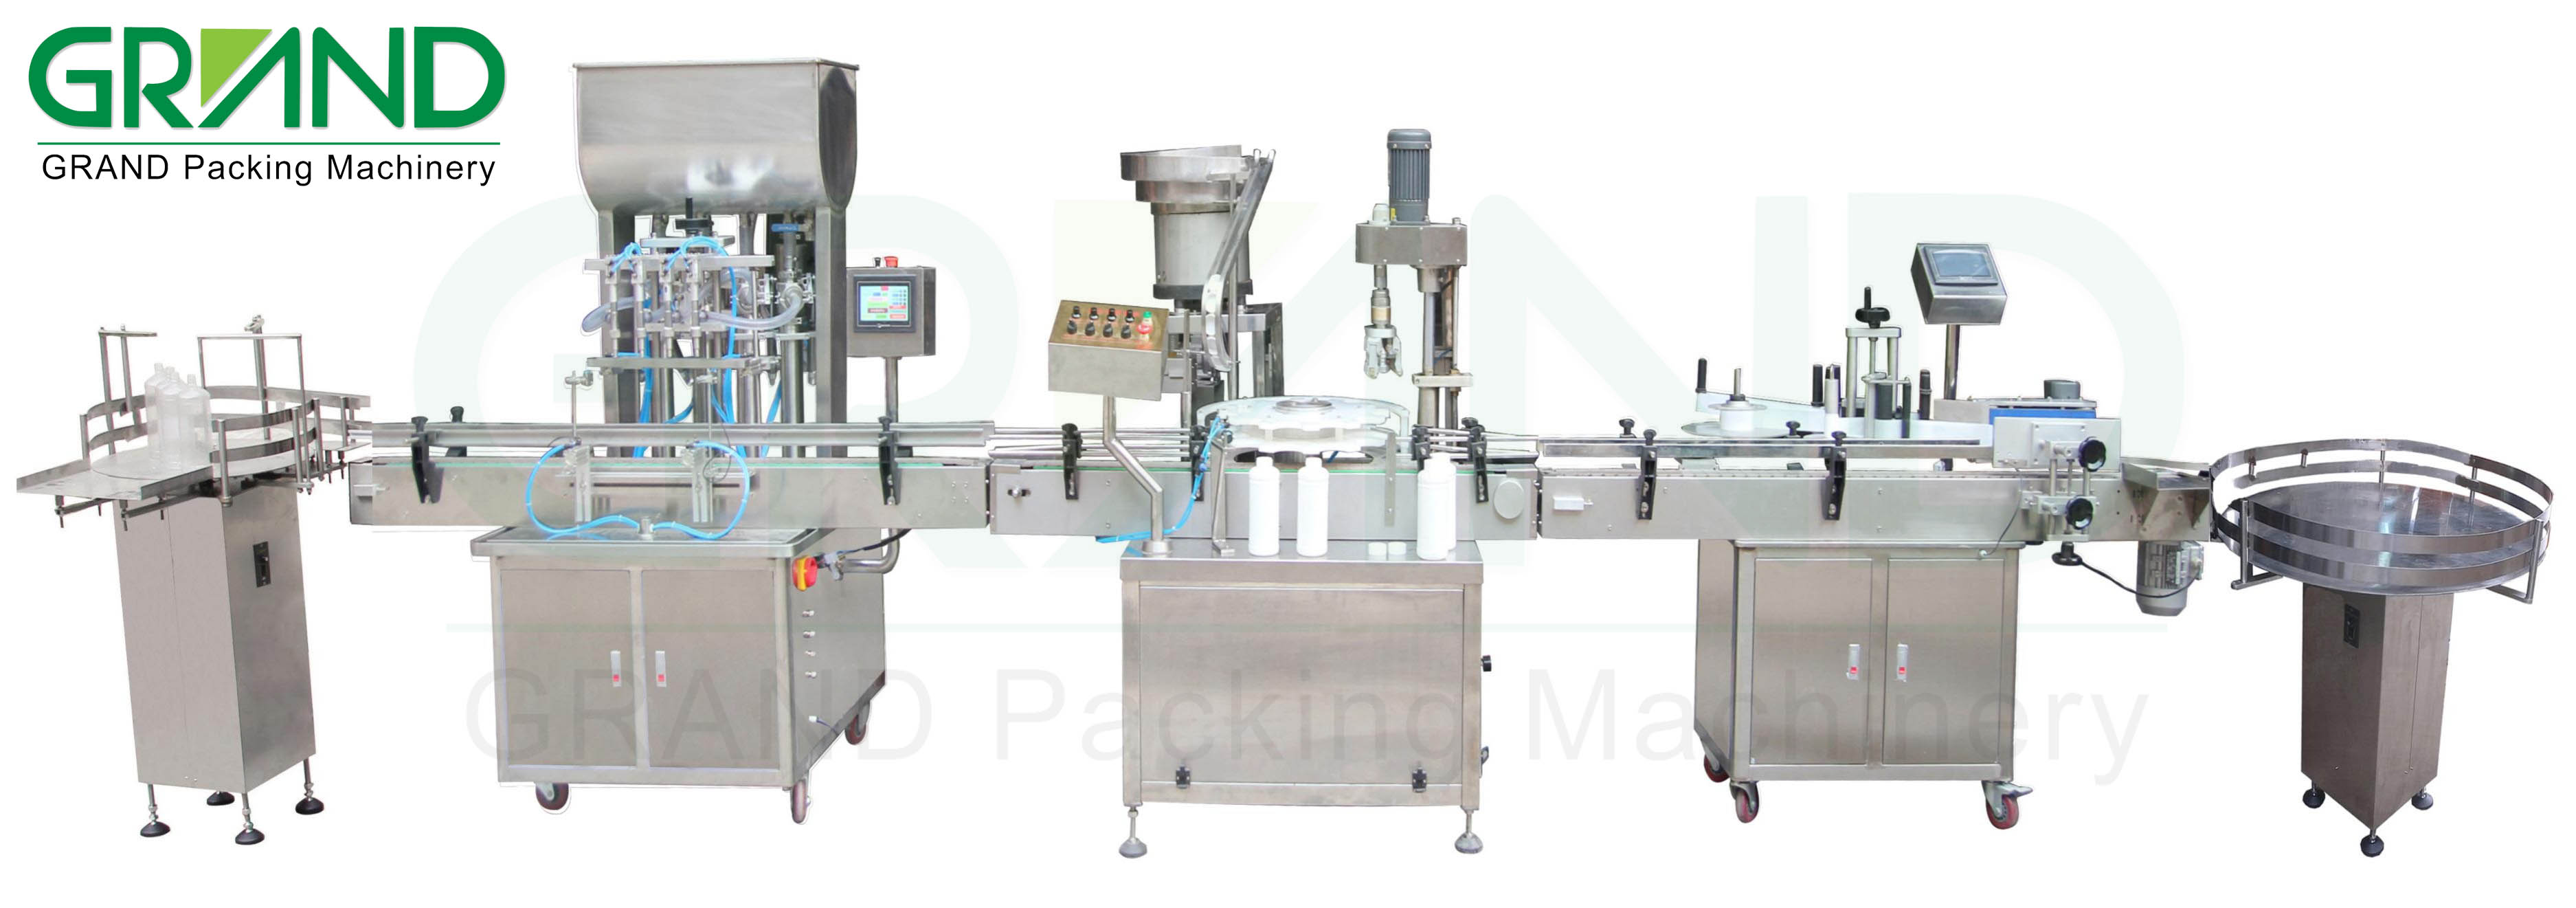
 This is an article about the plastic bottle filling and capping production line. The whole process is divided into three parts.How to debug and install the production line is introduced in detail.
Even if there are no engineers and professionals, after watching this article and the accompanying video, they can complete the installation and commissioning of the whole production line by themselves.Because our customers are like this, after they receive the equipment, they have a one-time commissioning of the complete production line, and the operation is very stable.
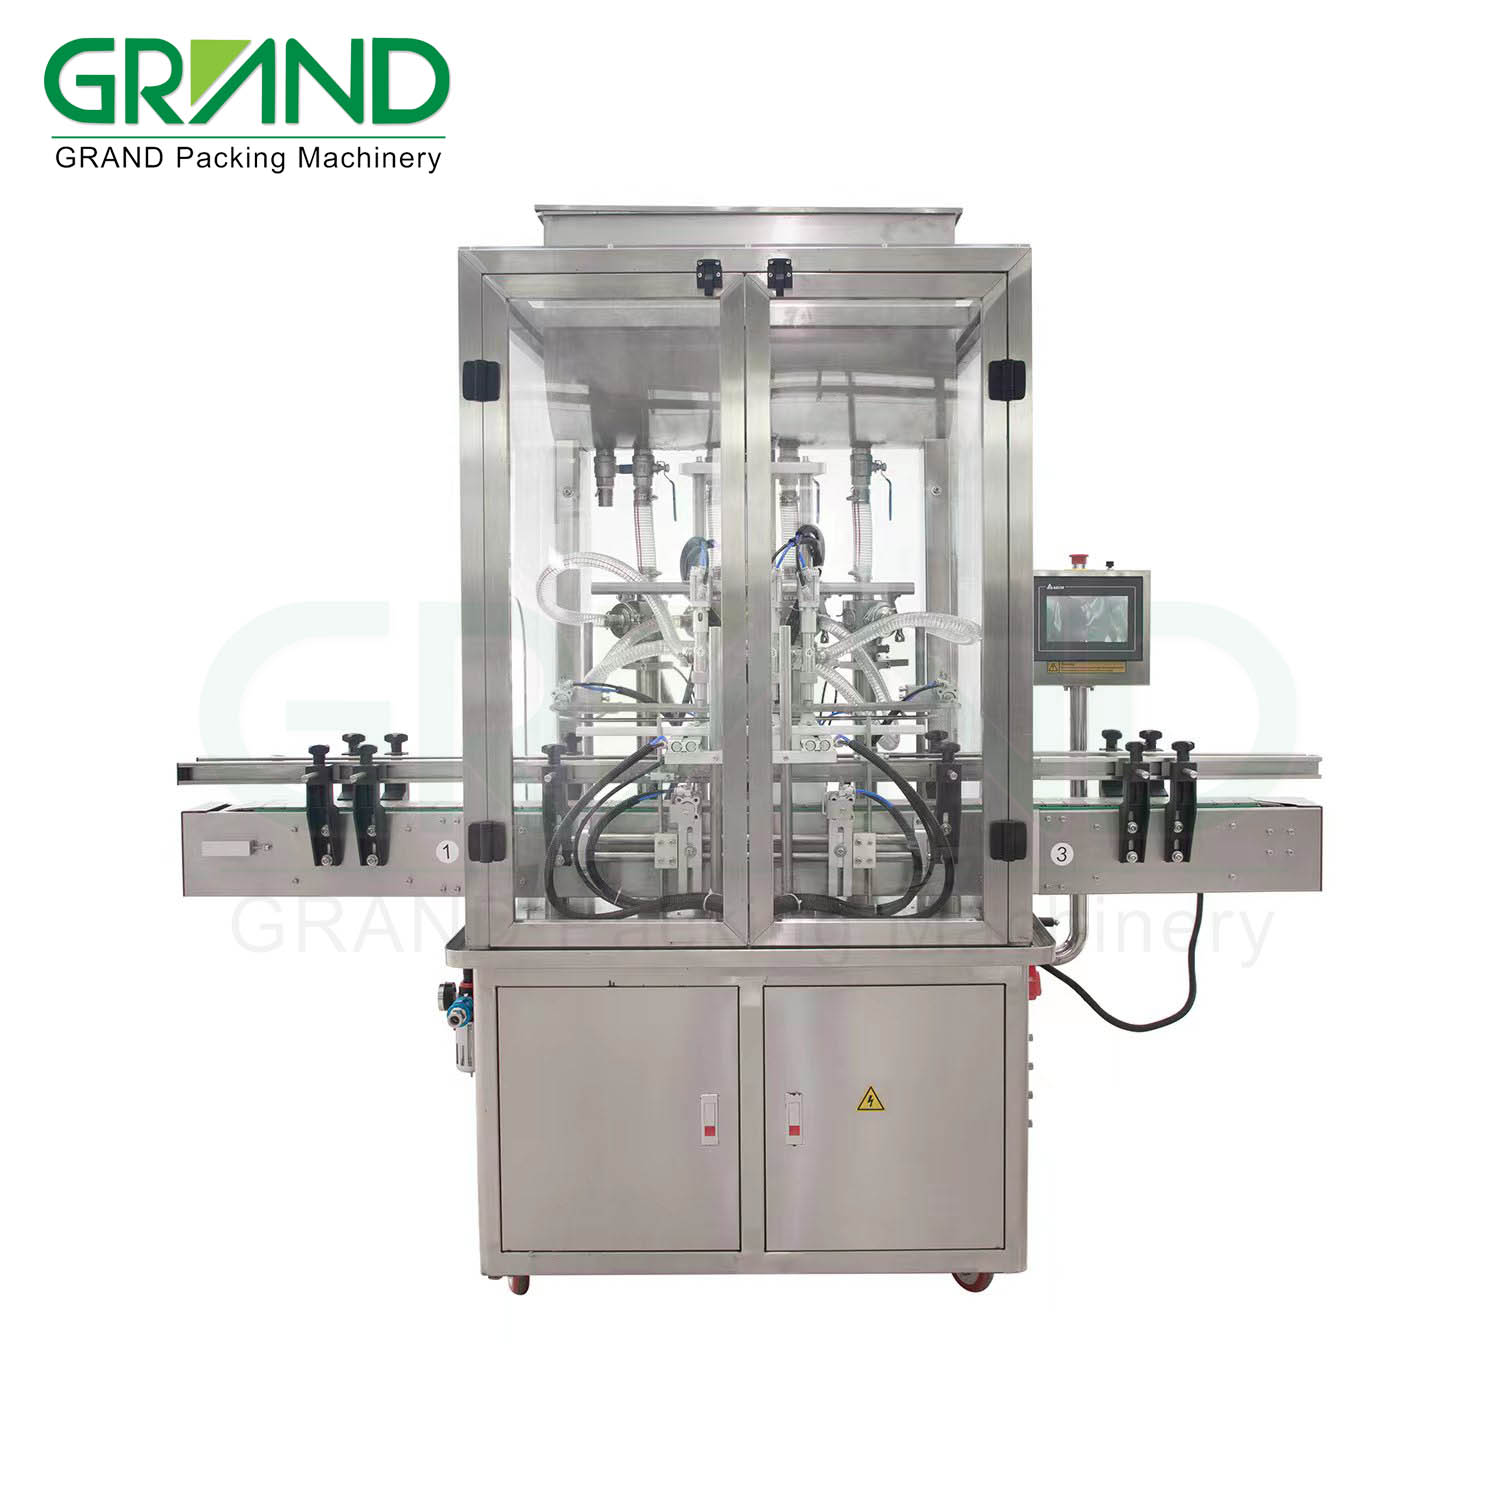
Step 1: Adjust the bottle feeding machine and the width of the bottle inlet of the turntable according to the size of the round bottle.
click me to view the video
Loosen the screw
Adjust the width to let the bottles go through
Step 2:Adjust and replace the bottle and adjust the filling volume according to the bottle specification (take the round bottle with a filling volume of 200 ml as an example)
Click me to view the video
Press the button: “Clean OFF”+”Take up Plate”;
Adjust the width of the conveyor;
Loosen the screws;
Press the button “Manual Down Up”;
Rotate the handle to adjust the height of the filling head;
Loosen the screws;
Blade close to the edge of the bottle;
The filling head is on the bottle mouth;
Loosen the screws;
Adjust the filling heads;
Loosen the screws;
Adjust the filling head and make it on the bottle mouth;
Tighten the screws of the filling head;
Make sure the filling head on the bottle mouth;
Loosen the screws;
Press the button “Ahead”;
The blade close to the edge of the bottle
Tighten the screws;
The rod close to bottleneck;
Tighten the screws;
Turn off the button “Ahead”+ “Manual Down Up”;
Press the button “Back”;
Adjust the width of the conveyor;
Press the button “Conveyor”;
Turn off the button “Conveyor”;
Turn off the button“Back”;
Press the button “Ahead”;
Press the button,“Manual Down Up”+“Gripper”;
Tighten the screws, close to the bottleneck;
Turn off “Gripper”+“Manual Down Up”+“Ahead”;
Loosen the screws
The red light is on the same line with the blade below;
The red light is on the same line with the blade below;
Adjust the number( usually red number about 4000/ green number about 3200)
The red light is on the middle of bottles, increase the number till yellow light off;
The red light is on the middle of bottles; the yellow light off; the red light is on the bottles,the yellow light on;
Check the yellow light on/off;
Loosen the screws;
The red light on the bottle,13.25-13.27: the yellow light on;
The red light in the middle of bottles,13.33-13.34: the yellow light off;
Press the button“Ahead”+“Conveyor”+“Manual Down Up”;
Check working, if good, turn off “Ahead”+“Conveyor”+“Manual Down Up”;
Adjust the bottle filling volume:
Rotate to the left , number1,2,3,4 to increase the air pressure;
Press the button”Take up Plate”
Use a tube for test,14.47---Press the button”1# Manual” 2-3 times;
Press the button “1# Test”;
Press the button”2# Manual” 2-3 times;
Press the button”3# Manual”
Rotate to the right a little;
Filling
Weighing;
Rotate the handle to the right till 750;
Volume fine-tuning
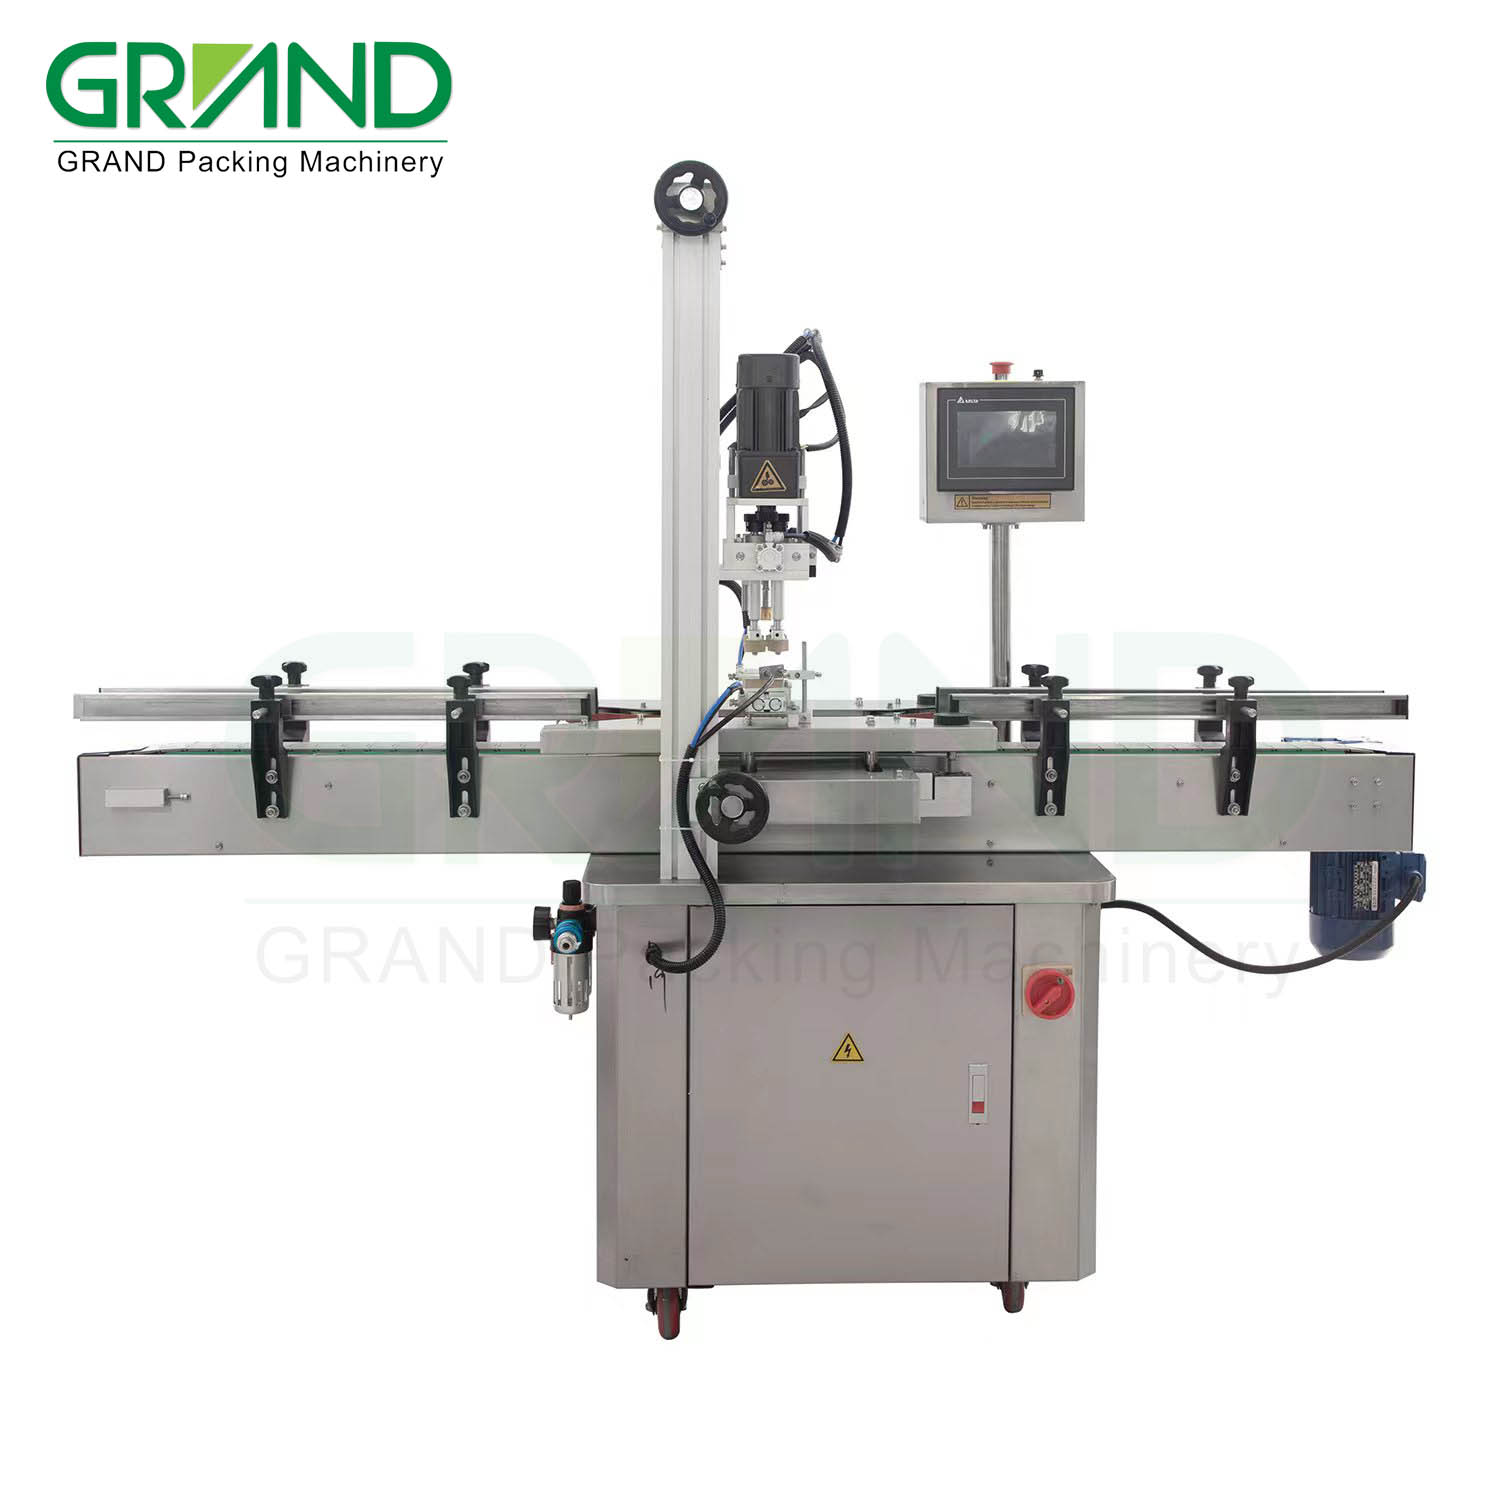
Step 3:Adjust the capping machine
Click me to view the video
Manual feeding the cap;
Rotate the handle to adjust the width of the conveyor;
Bottle under the capping head,
Press the button “Bottle clamping”;
Loosen the screws, adjust the width;
Tighten the screws;
Loosen the screws;
Pull the capping head up a little;
Press the button”Rotating cover”;
The capping head is just above the bottle cap;
Tighten the screws;
Press the button “Rotary cap motor”;
The red light in the middle of bottles, the yellow light off;
Testing the capping
Step 4:Debug the labeling machine, and replace the labeling of flat bottles with the labeling of round bottles.
(This description is additional, because the customer factory also needs to fill round bottles and flat bottles, and the labeling machine needs to be debugged separately when labeling.)
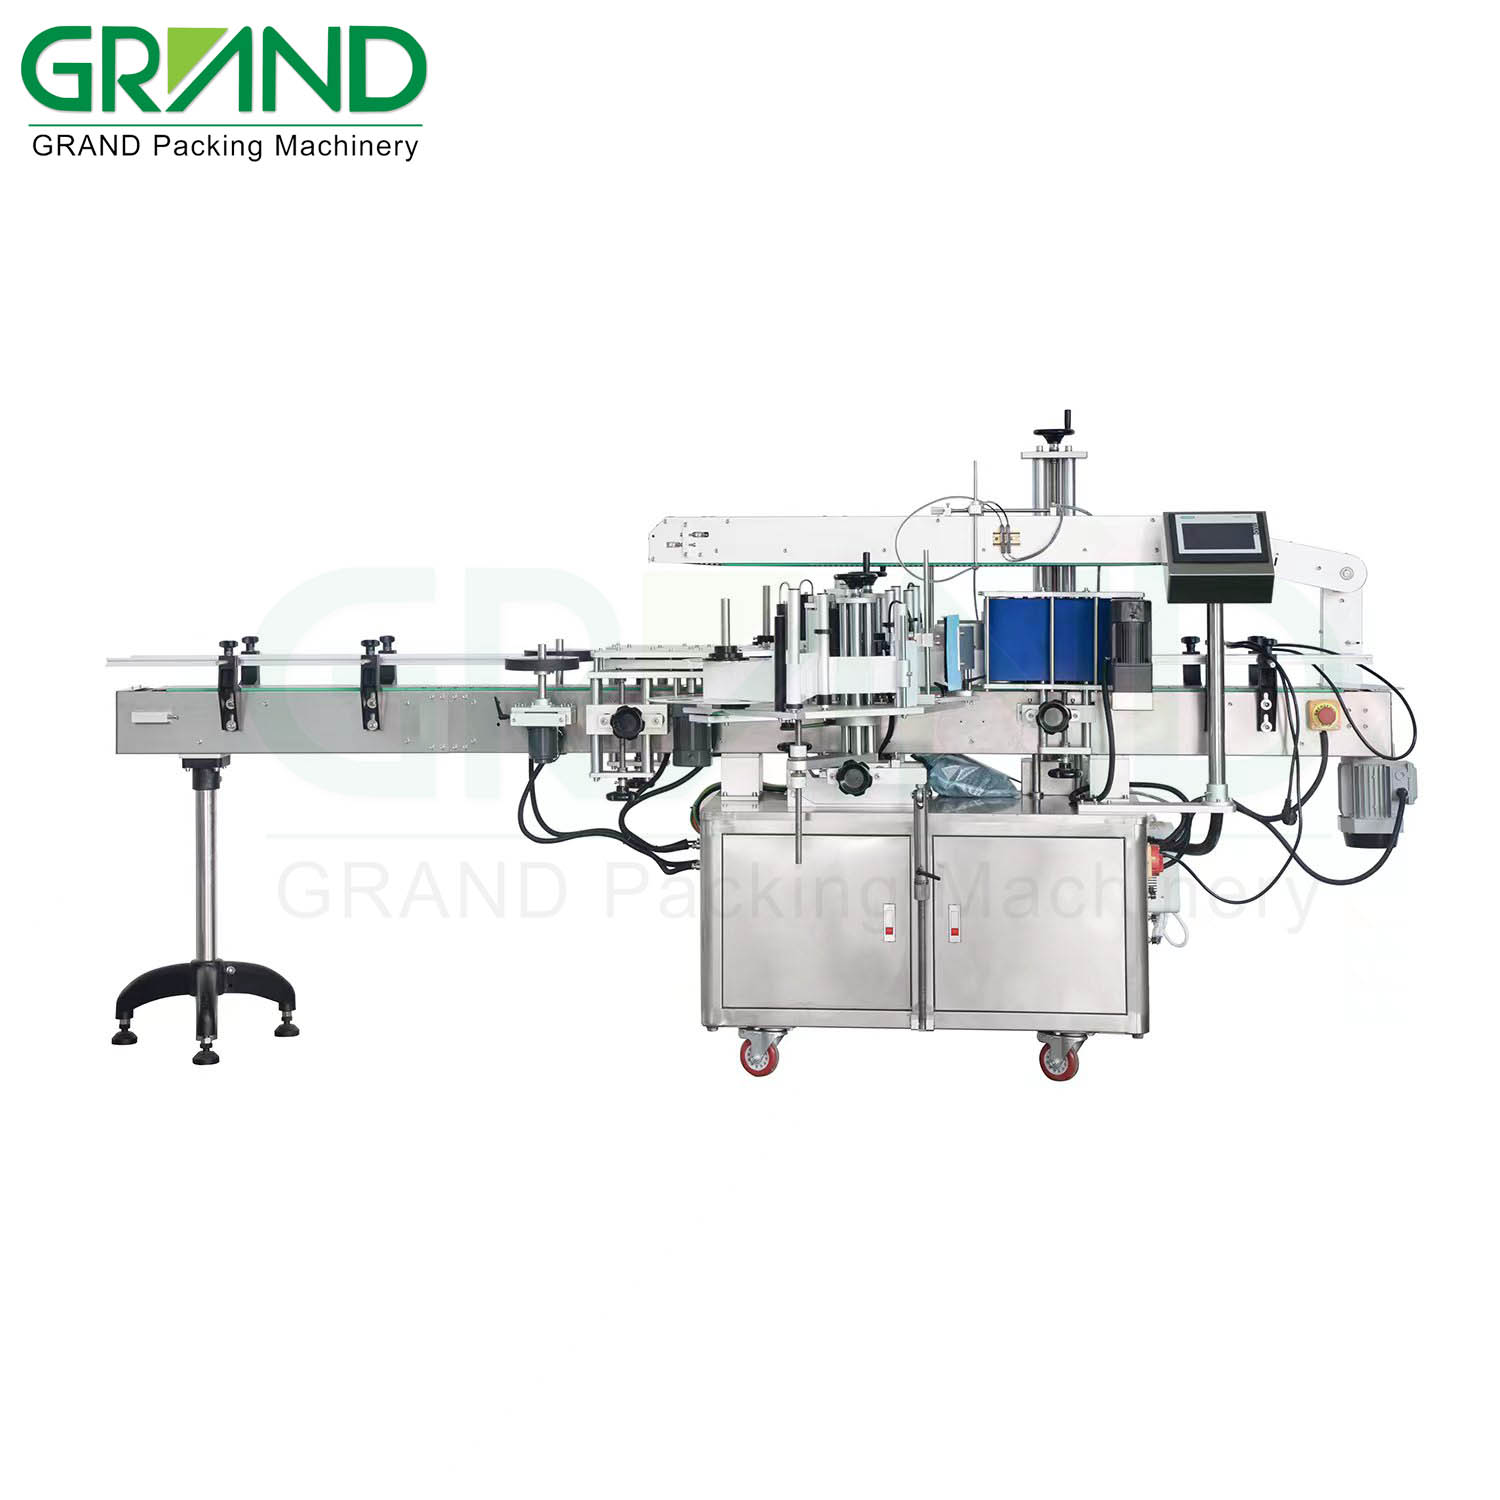
video updating...
Rotate the handle to the right to raise the height;
Change higher black roll near the bottle collector;
Flat bottle labeling to round bottle labeling;
Equip the frame on the table;
Equip black wire on the back of the frame;
Take off the brush for flat bottle labeling;
Blue roll is near the green line;
Adjust the width between the frame and blue roll;
Loosen the screws to adjust labeling length;
Blue roll is near the green line;
The labeling paper can move, a small gap near the rod;
A small gap near the rod
Tighten the screws;
Adjust the width between the blue roll and the frame;
Put 2 round bottles in the middle of the blue roll and frame;
Tighten the screws;
Adjust the light and shadow
The red light in the middle of label, the yellow light flash;
Press the button for a while, both yellow and green light flash;
Press the button again, no light flash;
Label moves, green light on
The red light in the middle of the label, yellow light flash;
Press the button “square bottle labeling”
Press the button “manual menu”;
Press the button”1# labeling test”;
Press the button“Alarm clear”
Press the button”1# labeling test”;
Labeling length a little longer;
Loosen the screws to pull back the label a little;
Press the button”1# labeling test”;
Put the bottle in the labeling area;
Adjust the Number 2 device for round bottle labeling;
Bottle out of the labeling area, yellow light off;
Bottle in the labeling area, the yellow light on
Label a little slowly;30.22--30.40:Move the black wire ahead a little;
Check Labeling working
Loosen the screws to move the label forward;
Adjust the width of the conveyor;
Adjust the width between the two black rolls;
note:
It's hard to understand just by looking at the tutorial, and you have to work with the video.

 English
 This is an article about the plastic bottle filling and capping production line. The whole process is divided into three parts.How to debug and install the production line is introduced in detail.


